
Introduction to Homemade Cream Puffs
When it comes to delightful desserts, homemade cream puffs are hard to beat! These airy, delicate treats shine as a standout option for parties or cozy evenings at home. While they do require a bit of effort, the results are genuinely rewarding. The crispy choux pastry, when baked to golden perfection, transforms into light, hollow shells just waiting to be filled with luscious whipped cream.
You might be asking yourself, “Are homemade cream puffs really worth the time I need to invest?” Absolutely! The satisfaction of creating this classic French dessert from scratch is a joy in itself. Plus, you get to customize the flavors and fillings to suit your taste. For example, try adding a hint of vanilla or lemon zest to your whipped cream for a refreshing twist!
For a deeper dive into the art of baking, check out The Perfecting Choux Pastry guide for pro tips from experts in the culinary world. With every bite, you'll taste the care that goes into making these delightful creations, making them a cherished addition to any dessert table! Your guests will be impressed, and you’ll revel in the sweet achievement of your very own homemade cream puffs.
Ingredients for Homemade Cream Puffs
Making homemade cream puffs is both rewarding and delightful, and it all starts with the right ingredients. Below, we break down the essentials for crafting the perfect puffs and their delicious filling.
Pâte à Choux Ingredients
To create those signature light and airy shells, you’ll need:
- 1 ¼ cup water (300 ml), divided
- 1 teaspoon granulated sugar (4 g)
- ½ teaspoon kosher salt (2 g)
- ½ cup unsalted butter (114 g), cut into 8 slices
- 1 cup all-purpose flour (124 g), spooned and leveled for accuracy
- 4 large eggs
- ¼ cup powdered sugar for dusting
These ingredients work together to form a light pastry that puffs beautifully in the oven. Curious about the science behind pâte à choux? Check out more about it on Serious Eats.
Whipped Cream Ingredients
The filling is just as essential! For a luscious whipped cream, gather:
- 2 cups heavy whipping cream (480 ml)
- ½ cup powdered sugar (24 g), or you can opt for granulated sugar
- 1 teaspoon pure vanilla extract (5 ml)
This sweet mixture complements the airy pastry perfectly. Whipping cream does more than just taste good; it adds a delightful texture and richness that elevates any dessert.
With these ingredients in hand, you’re well on your way to impressing your friends and family with these delectable homemade cream puffs!
Step-by-step Preparation of Homemade Cream Puffs
Creating homemade cream puffs from scratch is not only a delightful culinary experience but also a chance to impress your friends and family. The light and airy choux pastry combined with a rich whipped cream filling is simply irresistible. Let's dive into each step!
Preheat the Oven
Begin by setting the stage for your homemade cream puffs. Position the oven racks to the upper-middle and lower-middle and preheat your oven to 425°F (218ºC). Line two baking sheets with parchment paper, which helps prevent sticking and makes cleanup a breeze.
Make the Pâte à Choux Dough
In a heavy-bottomed saucepan, combine 1 cup of water, granulated sugar, salt, and butter. Bring this mixture to a rolling boil—this is where the magic starts! Stir until the butter is completely melted (about two minutes). Once boiling, turn off the heat and swiftly add the flour. Stir vigorously with a wooden spoon until it forms a cohesive mass that leaves a film on the saucepan, which takes about 4 to 5 minutes. This is your choux pastry dough, and it's essential for creating those perfect puffs!
Cool the Dough and Incorporate the Eggs
Next, we need to cool the dough to about 130°F (54ºC). Transfer it to your stand mixer fitted with a paddle attachment and mix on low speed for 2 to 3 minutes. This cooling process is crucial, as it prevents the eggs from curdling when you add them. Once cooled, add the eggs one by one, mixing until fully incorporated after each addition. After three eggs, check the consistency—your dough should be glossy, firm, and easily pipable.
Pipe the Dough onto the Baking Sheet
Grab a piping bag fitted with a large plain tip (or a star tip if you want a decorative touch). Fill your bag with the dough, then pipe 2-inch rounds onto the prepared baking sheets, leaving at least two inches of space between them since they’ll puff up during baking. To ensure smooth tops, wet your finger and gently flatten any peaks.
Brush with Egg Wash and Bake
Prepare an egg wash by whisking together a large egg and a tablespoon of water. Brush this mixture over each puff for a golden, shiny finish. Then, into the oven they go! Bake for about 60 to 70 minutes, gradually lowering the temperature from 425°F to 200°F without opening the oven door. The result? Light and airy pastry shells that are perfectly cooked.
Make the Whipped Cream
While your puffs cool, it’s time to whip up some delicious filling! In a stand mixer with a whisk attachment, combine heavy cream, powdered sugar, and vanilla extract. Start at a low speed; once frothy, increase to medium-high until stiff peaks form. Be careful not to overwhip—no one likes clumpy cream!
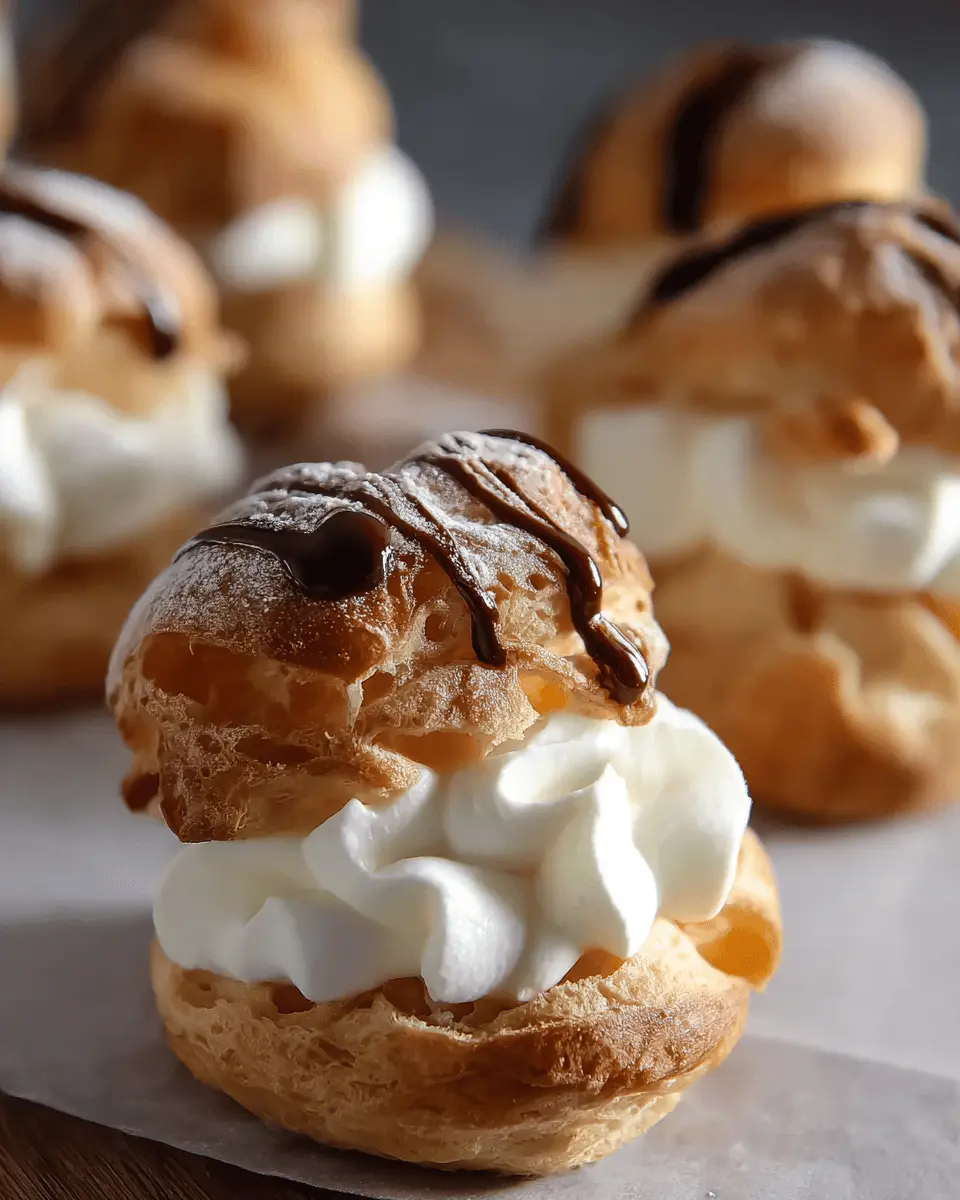
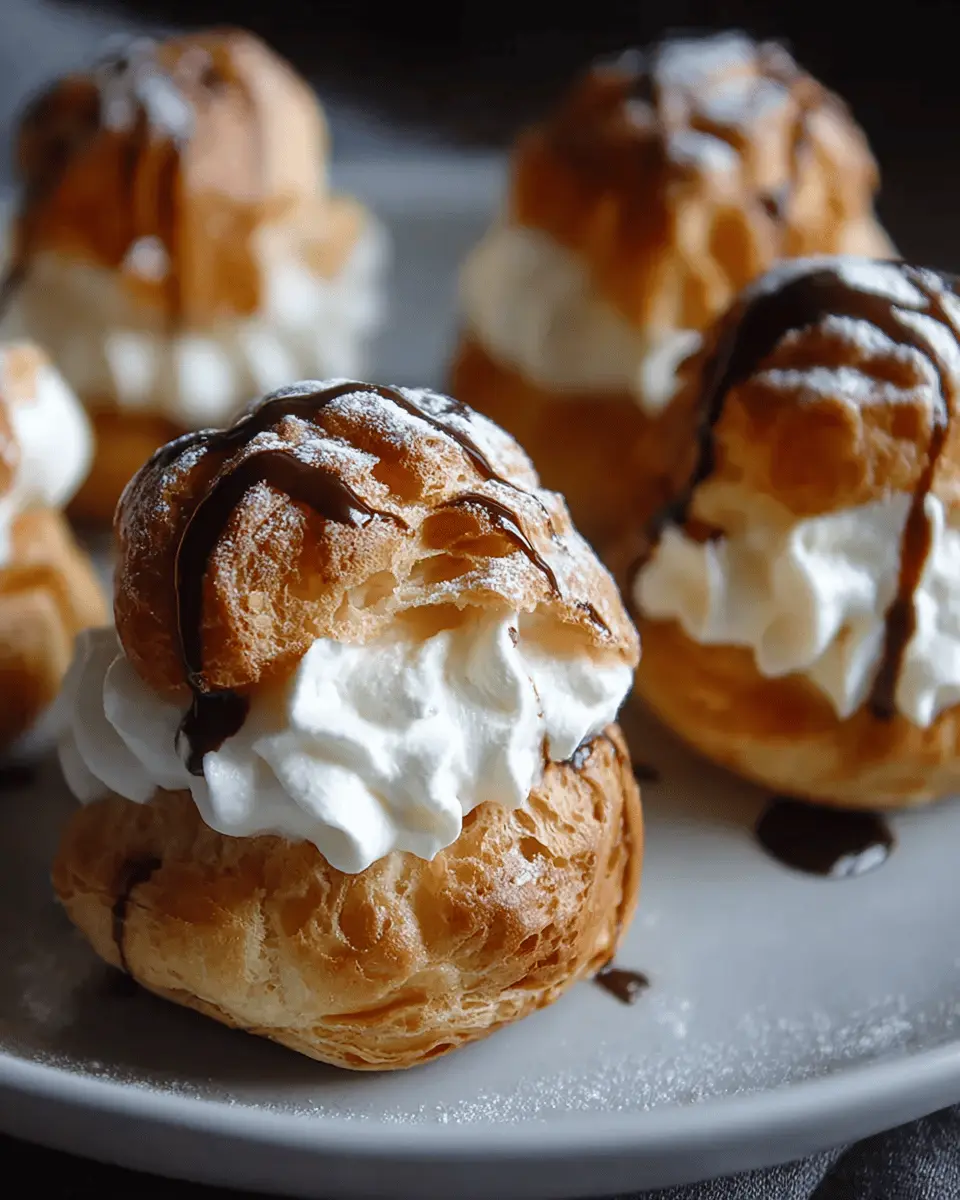
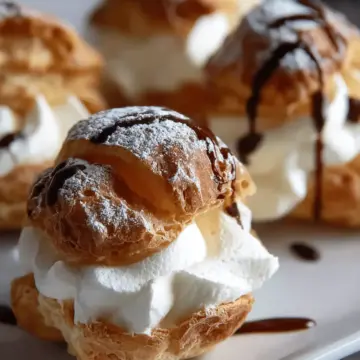
Assemble the Cream Puffs
The final step in crafting your homemade cream puffs is the assembly! Cut the baked shells in half horizontally, pipe a generous dollop of whipped cream into the bottoms, and place the tops gently back on. Dust with powdered sugar for that extra touch of elegance.
Now, enjoy your delicious puffs, whether you serve them immediately or refrigerate them for a few hours. Trust me, they won’t last long on the table!
For more tips on mastering pastry techniques, consider checking out resources like the Food Network or Serious Eats. Enjoy your baking adventure!
Variations on Homemade Cream Puffs
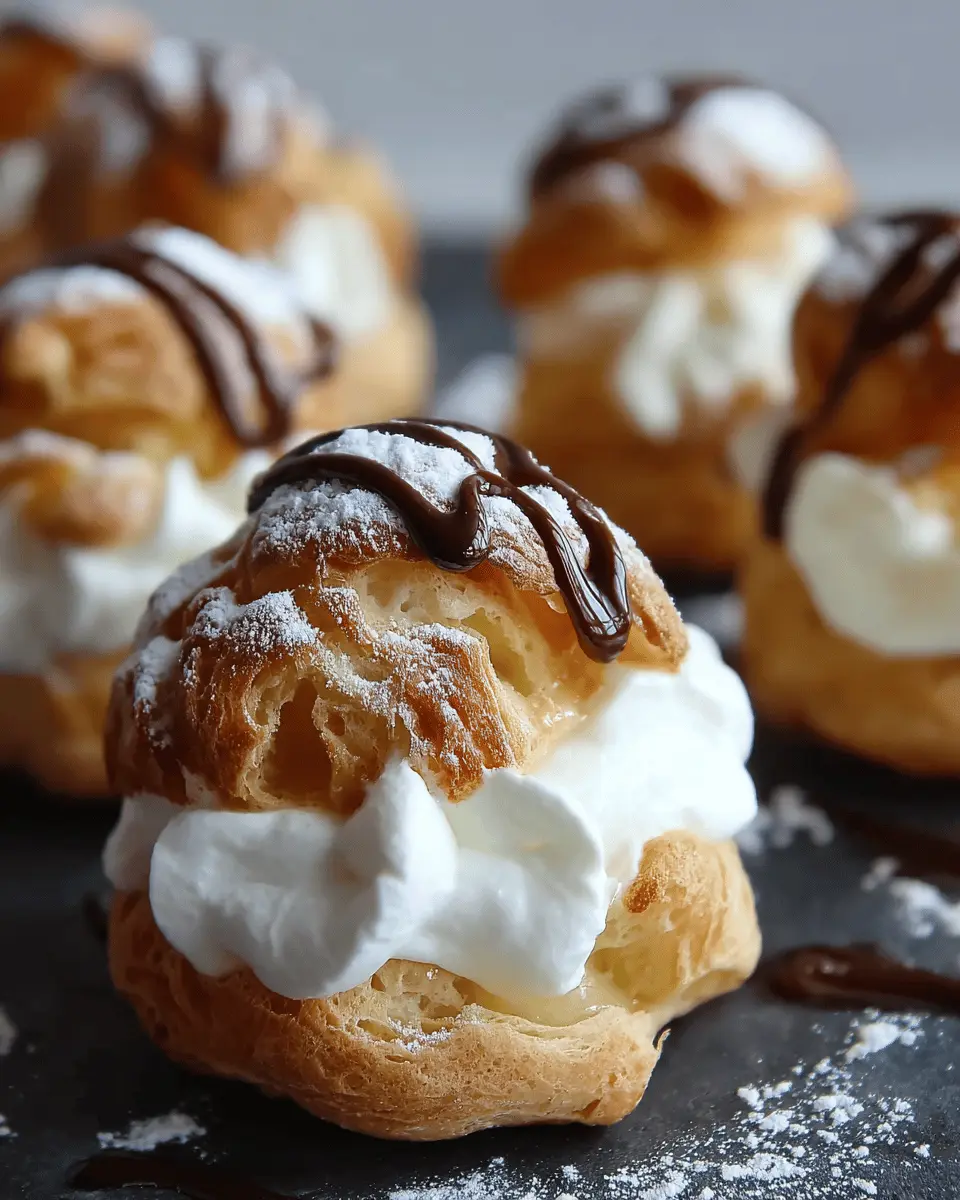
Chocolate Cream Puffs
Indulge your chocolate cravings by whipping up some delightful chocolate cream puffs! Simply melt some dark chocolate and fold it into your whipped cream mixture for a rich filling. Optional: drizzle some melted chocolate over the top for an elegant finish. You can also try adding cocoa powder to the choux pastry to intensify the chocolate flavor—definitely a showstopper at any gathering!
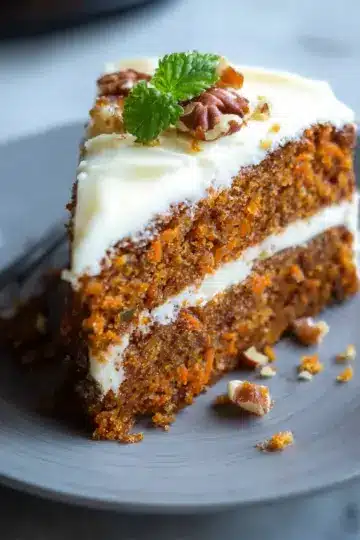
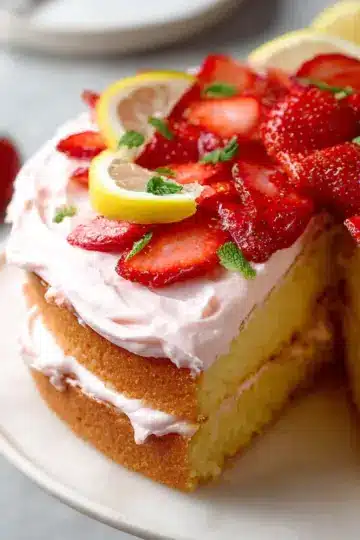
Fruit-Filled Cream Puffs
Want to brighten up your dessert table? Consider fruit-filled homemade cream puffs! Incorporate fresh fruit into your whipped cream, like strawberries or raspberries, for a refreshing twist. Alternatively, create a light fruit compote to fill the puffs, bursting with seasonal flavors. These variations not only look stunning but also add a vibrant touch to your classic pastry. Whether for a brunch or a dinner party, they’re sure to impress!
If you're looking for more creative ideas, check out Flavorful Pastry Variations or explore seasonal fruit combinations at Food Network!
Cooking Tips and Notes for Homemade Cream Puffs
Proper Measuring Techniques
When making homemade cream puffs, precision is key! Use the spoon and level method for measuring flour: scoop it into your measuring cup and then use the back of a knife to scrape off the excess. This technique helps avoid adding too much flour, ensuring your choux pastry remains light and airy. For more tips on measuring ingredients accurately, check out resources from King Arthur Baking.
Reheating Stored Shells
If you've made extra shells, don’t worry about losing that delightful texture! To revive your homemade cream puffs, simply preheat your oven to 300°F (149°C) and place the shells on a baking sheet. Heat them for about 5 to 10 minutes until they’re slightly hardened. Allow them to cool on a wire rack before filling with whipped cream, restoring their crispiness beautifully. This way, you can enjoy them fresh just like when they came out of the oven!
Serving Suggestions for Homemade Cream Puffs
Presentation Ideas
Elevate your homemade cream puffs with a delightful presentation. Consider arranging them on a tiered serving platter for a touch of elegance, or using a simple wooden board. Dust them lightly with powdered sugar for a snowy effect, and place fresh berries or mint leaves around them for an extra pop of color. For a modern flair, drizzle some chocolate or caramel sauce over the tops before serving.
Pairing with Beverages
Complement your delicious cream puffs with a variety of beverages. A classic pairing is a cup of rich, dark coffee, which contrasts beautifully with the sweetness of the cream. If you prefer something lighter, try a fruity herbal tea or sparkling lemonade. For a cozy evening, serve with a creamy hot chocolate for a comforting treat. Explore more drink ideas at Coffee Affection or Tea & Herbal Association.
Time Breakdown for Homemade Cream Puffs
Preparation Time: 30 minutes
Start by gathering your ingredients and equipment. This initial setup helps streamline the process for your homemade cream puffs.
Cooking Time: 1 hour 15 minutes
While the dough bakes to golden perfection, you can whip up some delightful cream to fill your puffs. Patience pays off here!
Total Time: 1 hour 45 minutes
In under two hours, you can create an impressive dessert that will delight family and friends. For more tips on making the perfect cream puffs, check out this guide on pâte à choux techniques from Serious Eats.
The timeline for making homemade cream puffs is manageable, with clear phases to help you stay organized!
Nutritional Facts for Homemade Cream Puffs
Creating delightful homemade cream puffs means indulging in a treat that balances flavor and nutrition. Each cream puff contains approximately:
Calories
- 116 calories per cream puff, making it a light dessert option.
Fat Content
- With 7 grams of fat, these puffs deliver a satisfying richness while still being mindful of your diet.
Carbohydrates
- Each cream puff includes 10 grams of carbohydrates, ensuring a sweet finish without going overboard.
These nutritional facts reveal that while homemade cream puffs are a delicious dessert, they can fit into a balanced lifestyle. For more healthy indulgences, consider exploring recipes that feature wholesome ingredients.
FAQs about Homemade Cream Puffs
What is the best way to store cream puffs?
For the freshest taste, it’s best to enjoy your homemade cream puffs the same day you make them. If you need to store them, keep filled cream puffs in the refrigerator, uncovered, for up to three days. This helps maintain their texture. For unfilled shells, store them at room temperature in an airtight container for up to five days.
Can I freeze unfilled cream puff shells?
Absolutely! You can freeze the unfilled cream puff shells for up to one month. Just make sure they are completely cool before placing them in a freezer bag or container. When you're ready to enjoy them, simply bake at 300ºF (149ºC) for about 5-10 minutes to restore their crispness.
How do I make cream puffs crispy again?
If your cream puffs have lost their crispness, simply reheat them at 300ºF (149ºC) on a baking sheet for about 5-10 minutes. This should help revive the delightful crunch that makes homemade cream puffs so irresistible! Want more tips? Check out allrecipes.com for expert storage advice.
Conclusion on Homemade Cream Puffs
Making homemade cream puffs is a delightful experience that offers both a culinary challenge and a rewarding payoff. The combination of crispy choux pastry and light whipped cream is truly irresistible! Whether you're serving them at a gathering or enjoying them alone, these treats will impress your taste buds and your friends. Happy baking!
Homemade Cream Puffs: The Best Indulgent Treat You Can Make
Equipment
- Stand Mixer
- Cooling Rack
- Pastry Bag
- Plain Pastry Tip
- Star Pastry Tip
Ingredients
Pâte à Choux
- 1.25 cups water, divided
- 1 teaspoon granulated sugar
- 0.5 teaspoon kosher salt
- 0.5 cups unsalted butter, cut into slices 8 slices
- 1 cup all-purpose flour spoon and leveled
- 4 large eggs
- 0.25 cups powdered sugar for dusting
Egg Wash
- 1 large egg
- 1 tablespoon water, or milk
Whipped Cream
- 2 cups heavy whipping cream or heavy cream
- 0.5 cups powdered sugar or granulated sugar
- 1 teaspoon pure vanilla extract
Instructions
Making Cream Puffs
- Preheat the Oven - Set the oven racks to upper-middle and lower-middle positions. Preheat to 425°F (218ºC). Line two sheet pans with parchment paper and set them aside.
- Make the Dough - In a large heavy-bottomed saucepan, add 1 cup of water, sugar, salt, and butter. Bring to a boil over medium-high heat and stir until the butter fully melts, about 2 minutes.
- Turn off the heat and immediately add the flour. Vigorously stir with a large spoon until the flour is incorporated. Increase the heat to medium, and constantly stir until it clumps together, about 4 to 5 minutes.
- Cool the Dough - Transfer the dough to a bowl of a stand mixer fitted with a paddle. Slowly stir on low speed to cool to 130°F (54ºC), about 2 to 3 minutes.
- Add the Eggs in Stages - Add eggs one at a time, mixing on medium-low speed until each egg is fully incorporated. Once 3 eggs are added, check if the dough pulls away from the bowl's sides in thick threads.
- Piping the Dough - Add a large plain tip to a piping bag and add the dough. Pipe onto the sheet pan, creating a 2-inch circular ball.
- Brush on Egg Wash - In a small bowl, whisk together one egg and 1 tablespoon of water. Brush the tops of each dough ball with the egg wash.
- Gradual Baking Process - Bake for 10 minutes at each temperature setting: 425°F, 375°F, 325°F, 275°F, 225°F, 200°F. Do not open the oven door!
- Make the Whipped Cream - In a stand mixer fitted with the whisk attachment, add heavy cream, powdered sugar, and vanilla extract. Whip until smooth, stiff peaks form.
- Piping the Cream - Add the whipped cream to a pastry bag fitted with a large star tip. Cut the shells in half and pipe the whipped cream into the pastry bottoms.
- Top with Sugar - Sprinkle powdered sugar on top of each cream puff. Serve immediately, or refrigerate if not eating within one hour.

Leave a Reply