
Introduction to Hot Chocolate Cookies
Why are Hot Chocolate Cookies the perfect winter treat?
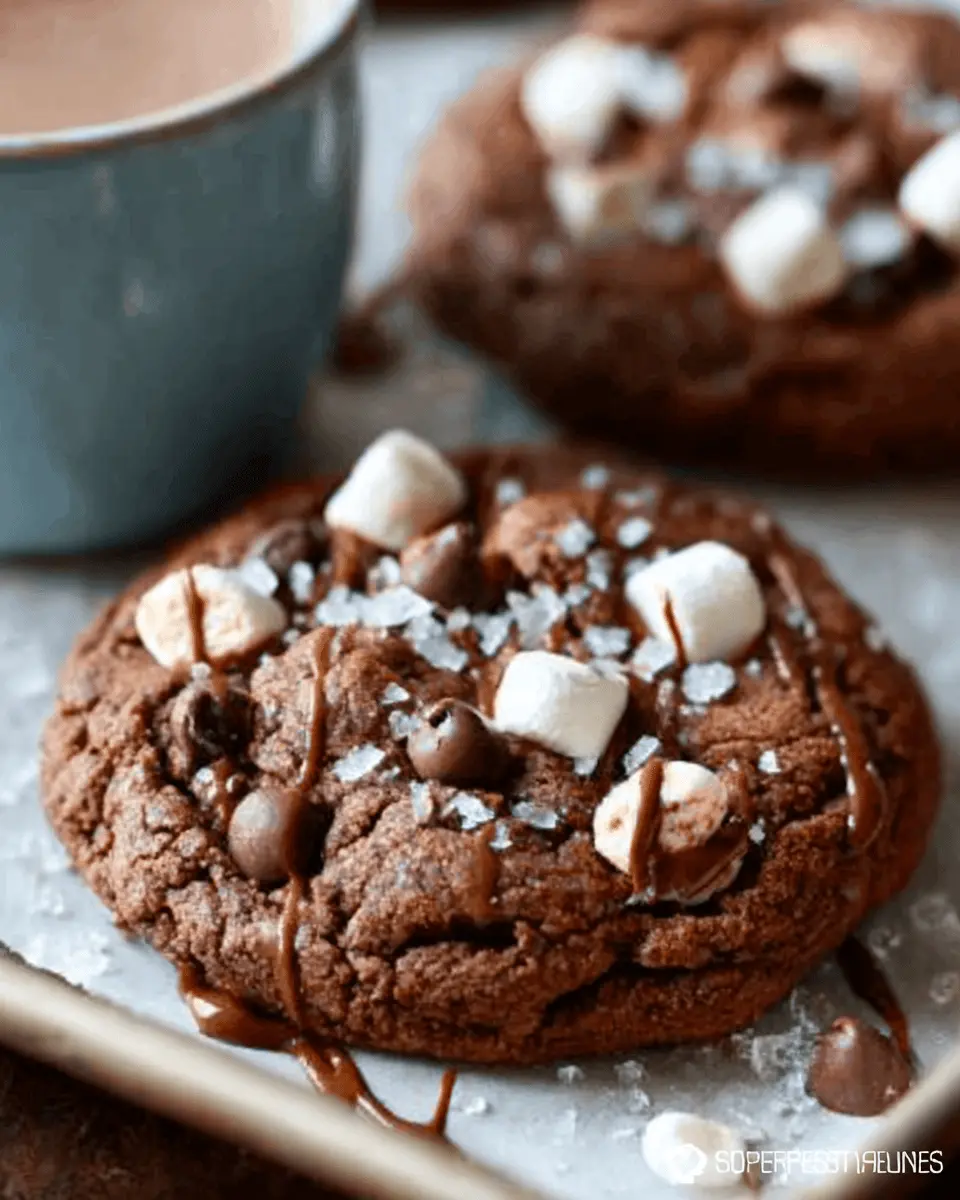
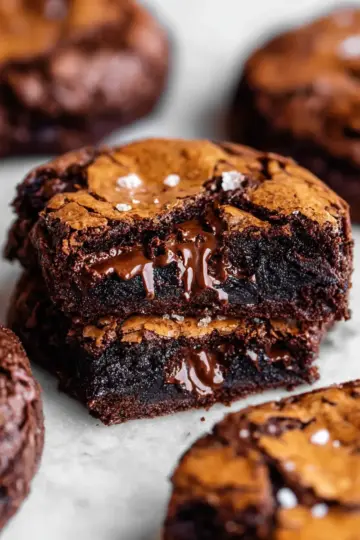
There's something undeniably warm and comforting about hot chocolate cookies, making them an ideal winter treat. Imagine sinking your teeth into a soft, chewy cookie that tastes like a cozy cup of cocoa. The rich chocolate flavor combined with the delightful surprise of marshmallow bits transports you to a snowy day spent by the fire—pure bliss!
These cookies aren't just delicious; they also carry a certain nostalgia. Many of us remember those chilly winter afternoons, sipping a steaming cup of hot chocolate after an exciting day of sledding or building snowmen. Crafting a batch of hot chocolate cookies brings those memories back and creates new ones with friends and family.
In addition to their nostalgic value, these cookies are perfect for sharing. With their attractive appearance, they make an excellent choice for cookie exchanges or holiday gatherings. You can easily whip up a sizable batch—36 cookies, to be exact! So gather your loved ones and indulge in the warmth of these delightful treats this winter season. For more ideas on winter baking, check out resources like the Food Network or Serious Eats.
Now, let’s dive into creating these scrumptious hot chocolate cookies that bring joy to everyone around!
Ingredients for Hot Chocolate Cookies
Essential ingredients for making delicious Hot Chocolate Cookies
Creating hot chocolate cookies that are rich, chewy, and bursting with chocolate flavor begins with a few essential ingredients. Here's what you'll need:
- Butter: 1 cup, softened for that creamy texture.
- Sugars: Mix 1 cup granulated sugar with ⅔ cup brown sugar for sweetness and moisture.
- Eggs: 2 large eggs add structure and help bind the ingredients together.
- Vanilla Extract: Just 1 teaspoon for a warm, aromatic layer of flavor.
- Flour: 3 ¼ cups all-purpose flour, measured correctly to ensure cookie perfection.
- Hot Cocoa Mix: 4 packages (or ¾ cup) of classic hot cocoa mix—not sugar-free—to infuse the cookies with that signature taste.
- Leaveners: Baking powder and baking soda help your cookies rise beautifully.
- Salt: A teaspoon will balance the flavors.
- Chocolate Chips & Mallow Bits: 1 cup each, adding delightful chocolatey pockets and marshmallow goodness to every bite.
Alternatives and substitutions you can use
Searching for alternatives? You’ve got options! For butter, you can substitute with coconut oil or margarine in a 1:1 ratio, though it may alter the flavor slightly. If you’re out of eggs, try using flaxseed meal (1 tablespoon flaxseed mixed with 2.5 tablespoons water = 1 egg) or applesauce (¼ cup per egg).
Use whole wheat flour for a heartier texture, but note it may make your cookies denser. If you can't find Mallow Bits, a great alternative can be mini marshmallows, but keep in mind they might melt more during baking.
Finally, don’t hesitate to explore creatively flavored hot cocoa mix for a unique twist! Just be cautious, as not all flavors will enhance your hot chocolate cookies as perfectly as classic chocolate.
For detailed tips on baking substitutes, check out resources like King Arthur Baking or The Kitchn!
Preparing Hot Chocolate Cookies
Making hot chocolate cookies is one of the most delightful activities, especially during the chilly months. They’re not just a treat; they’re a cozy experience filled with hot cocoa goodness. Let’s take you through the essential steps to whip these up in your kitchen.
Gather Your Ingredients
Before diving into the magic, gather all your ingredients to make the process smooth and enjoyable. Here's a quick checklist:
- 1 cup softened butter
- 1 cup granulated sugar
- ⅔ cup brown sugar
- 2 large eggs
- 1 teaspoon vanilla extract
- 3 ¼ cups all-purpose flour
- 4 packets of hot cocoa mix (make sure it's not sugar-free!)
- 1 teaspoon salt
- 1 teaspoon baking soda
- 2 teaspoons baking powder
- 1 cup chocolate chips
- 1 cup Mallow Bits (mini marshmallows work differently, so avoid those)
With everything in place, you’re ready to start baking!
Cream the Butter and Sugars
In a large mixing bowl, beat together the softened butter, granulated sugar, and brown sugar until the mixture is light and fluffy. This step is crucial as it incorporates air into the dough, making your cookies tender and delicious. Then, add the eggs and vanilla extract, mixing well until they’re fully incorporated. This creamy base is what gives your hot chocolate cookies their richness!
Combine Dry Ingredients
Next, grab another bowl and combine your dry ingredients: flour, hot cocoa mix, salt, baking soda, and baking powder. Make sure to sift them to avoid clumps. Gradually add this mixture into your wet ingredients, ensuring everything is well blended. It’s at this point that the tantalizing chocolate aroma starts to fill your kitchen!
Mix Everything into a Dough
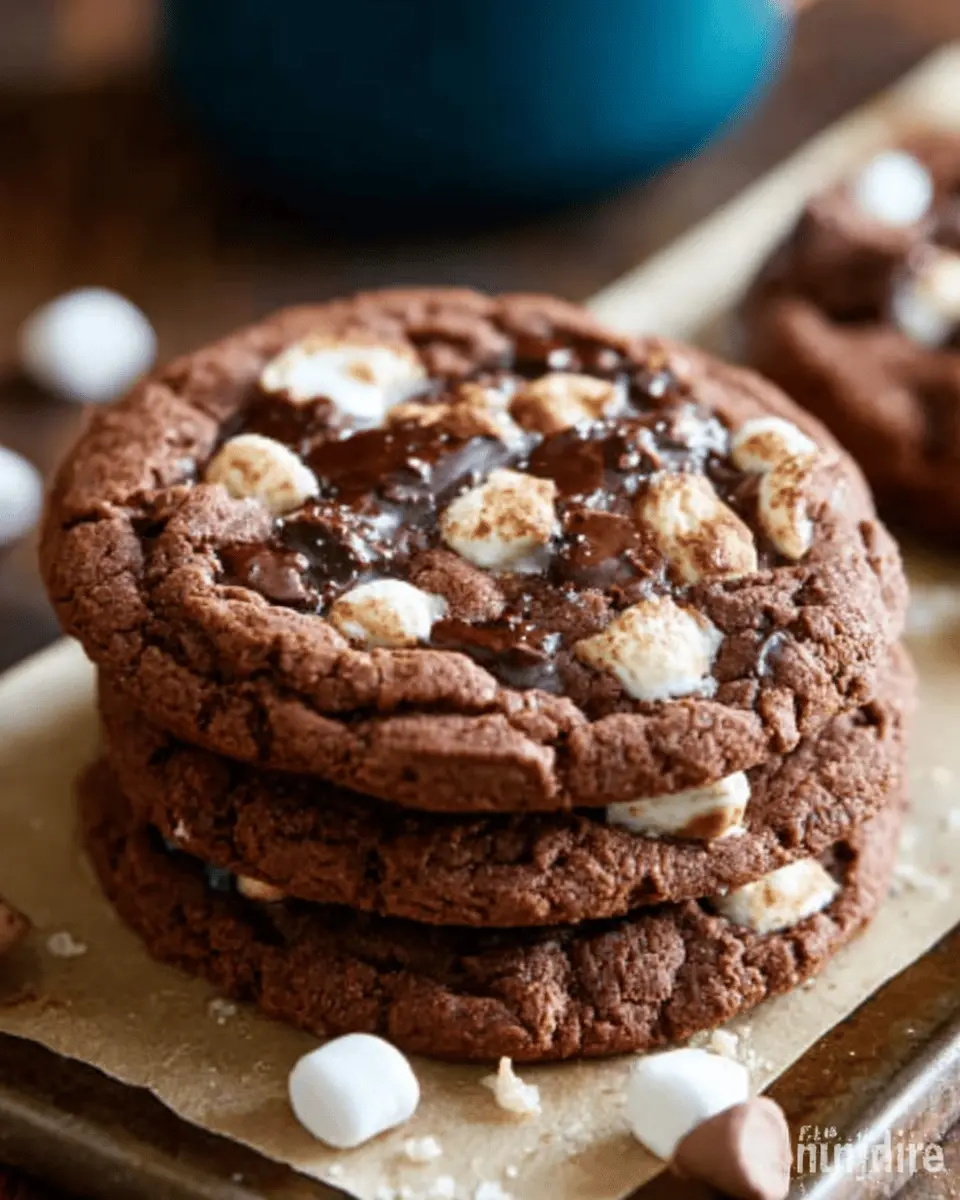
Once your dry and wet ingredients are combined, add in the chocolate chips and Mallow Bits. Stir until evenly distributed. Don’t be surprised if your dough appears a bit stiff; this is perfectly normal, as mentioned in the notes section of the recipe. Avoid adding extra liquid; trust the process!
Chilling for Better Flavor and Consistency
One of the best tips for a superior cookie is chilling the dough. Cover the bowl with plastic wrap and let it chill in the fridge for at least 30 minutes, or up to 24 hours. This resting period helps the flavors to develop and leads to a better texture, resulting in softer and chewier cookies.
Baking the Cookies to Perfection
To finish, preheat your oven to 350 degrees Fahrenheit. Scoop dough onto baking sheets lined with parchment paper or silicone mats, spacing them 2 inches apart. Bake for 9 to 11 minutes, or until the edges are lightly browned. The magic happens here—your hot chocolate cookies will spread and become perfectly soft and chewy! Finally, allow them to cool on the sheets for about 5 minutes before transferring to wire racks to cool completely.
Now that you’ve mastered the art of making hot chocolate cookies, why not share them with friends or enjoy them with a warm cup of cocoa? Happy baking!
Variations on Hot Chocolate Cookies
Chocolate Peppermint Hot Chocolate Cookies
If you're dreaming of a winter wonderland, chocolate peppermint hot chocolate cookies are the way to go! Simply add a half teaspoon of peppermint extract to your dough and swap in crushed candy canes for a festive twist. This delightful variation pairs perfectly with a cup of hot cocoa. Plus, the refreshing minty flavor is sure to become a seasonal favorite.
Nutty Hot Chocolate Cookies with Hazelnuts or Walnuts
For a delightful crunch, try nutty hot chocolate cookies by incorporating chopped hazelnuts or walnuts into the mix. Not only do these nuts add a wonderful texture, but they also enrich the flavor profile of your hot chocolate cookies. Just fold in about a cup of your chosen nuts alongside the chocolate chips. This variation is perfect for those who enjoy a bit of wholesome heartiness in their winter treats.
Whether you stick with the classic version or venture out with these variations, you're in for a tasty treat!
Baking notes for Hot Chocolate Cookies
Tips for perfect mixing and consistency
To achieve the perfect consistency for your hot chocolate cookies, make sure to beat the butter and sugars until light and fluffy—this aerates the mixture and creates a delightful texture. When you mix in your dry ingredients, do it gradually, and don’t worry if your dough seems dry; that's completely normal! For optimal results, chill your dough for at least 30 minutes; this helps enhance the flavor and prevent excessive spreading during baking.
How to avoid common baking mistakes
Avoid common pitfalls by measuring your flour correctly—stir it before spooning it into your measuring cup, and always level it off! This ensures the right dough consistency. Also, when using Mallow Bits, consider adding them after chilling the dough. This prevents them from melting too much in the oven and maintains their delightful marshmallow shape. For more baking tips, you can check resources like King Arthur Baking or America's Test Kitchen for invaluable advice!
Serving suggestions for Hot Chocolate Cookies
Pairing Cookies with Warm Beverages
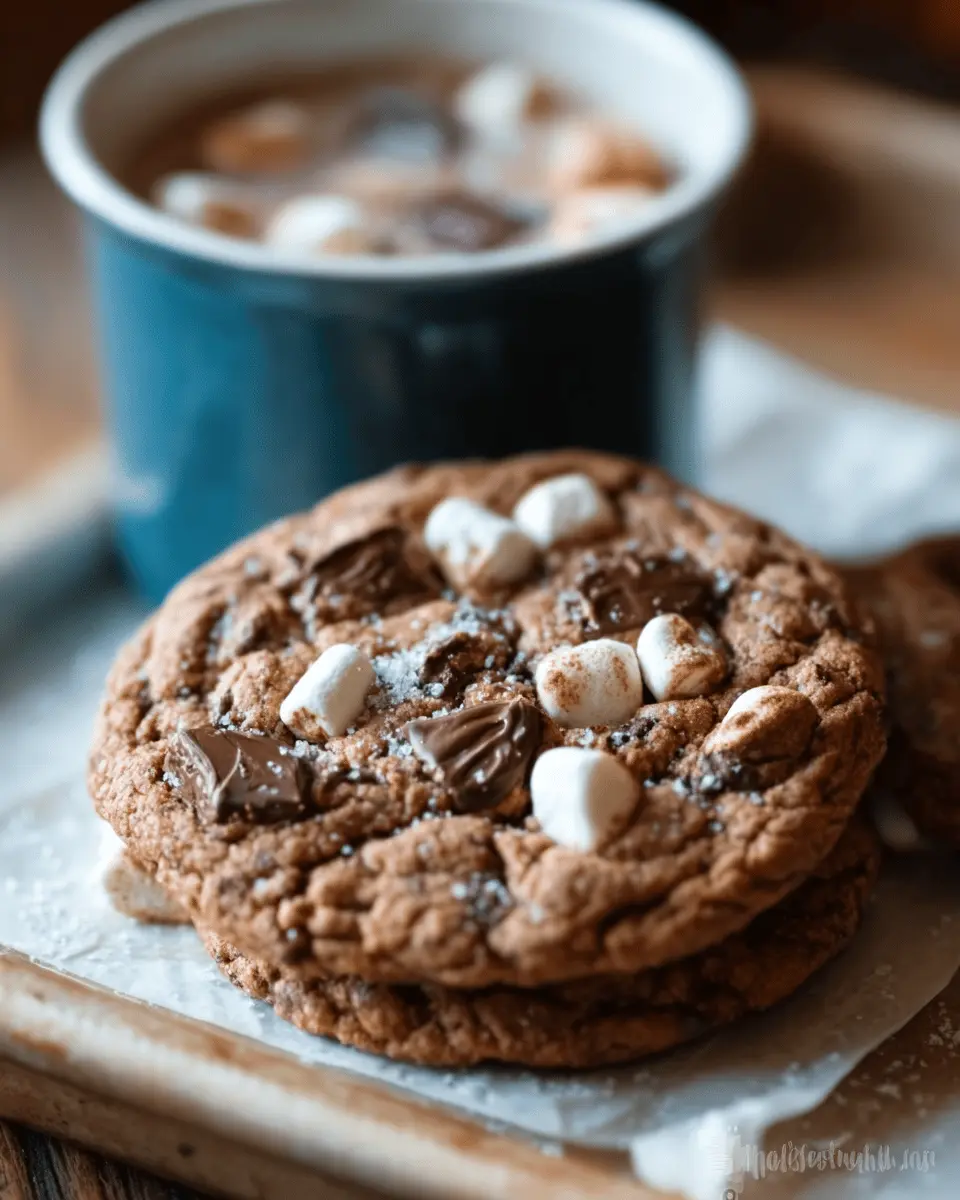
Hot chocolate cookies pair beautifully with a variety of warm beverages. Consider serving them alongside a steaming cup of classic hot cocoa or a frothy latte. The rich flavors of the cookies complement these drinks perfectly, creating a delightful cozy experience. For an extra twist, try pairing them with spiced apple cider for a comforting fall vibe. Each bite will enhance the warmth of your chosen drink, inviting your friends to savor the moment.
Creative Presentation Ideas for Cookie Exchanges
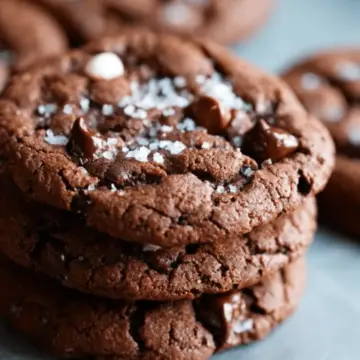
Make your hot chocolate cookies the star of your next cookie exchange! Present them in festive jars or on themed platters, complete with decorative ribbons. You could even include small cups of hot cocoa mix alongside for a fun take-home gift. Another great idea is to stack them in a clear container, revealing their enticing layers of chocolate chips and Mallow Bits. This creative touch will not only catch the eye but also spark conversations around your delicious cookies. Looking for more ideas? Check out TheKitchn for inspiration!
Tips for Making Perfect Hot Chocolate Cookies
Adjusting for Texture: Chewy vs. Crisp
To achieve your desired texture in your hot chocolate cookies, the flour measurement and chilling time are key. For chewier cookies, use about 3 cups of flour and chill the dough for around 30 minutes. If you prefer a crispier cookie, increase the flour to 3 ¼ cups and chill the dough longer. Remember, a slightly thicker dough can also enhance chewiness, so don’t be afraid to experiment!
How to Store Your Cookies for Maximum Freshness
To keep your hot chocolate cookies fresh, store them in an airtight container at room temperature. Adding a slice of bread can help maintain moisture and softness. For longer shelf life, you can freeze the cookies; simply layer them between parchment paper in a freezer-safe bag. When you’re ready to enjoy, thaw at room temperature or warm them in the oven for that fresh-baked taste! For more tips on cookie storage, check out this helpful guide.
Time Details for Hot Chocolate Cookies
Cooking up a batch of hot chocolate cookies is a delightful experience! Here’s a quick look at the time you'll need for this yummy treat.
Preparation Time
You'll spend about 10 minutes preparing the cookie dough. It’s a simple process that brings the festive flavors of hot cocoa to life!
Baking Time
The baking process takes around 20 minutes. Keep a close eye on those cookies; the perfect bake will give you a soft center with slightly crisp edges.
Total Time
In total, expect about 1 hour from start to finish. This includes chilling time for the dough, which is essential for the best flavor and texture. Trust me, it’s worth the wait! For more details on this flavorful recipe, check out King Arthur Baking's tips for delicious baked goods.
Nutritional information for Hot Chocolate Cookies
Calories
Each hot chocolate cookie comes in at about 157 calories, making them a delightful treat without completely derailing your day.
Protein
These cookies offer around 1.8 grams of protein per cookie, thanks to the eggs and butter, contributing a bit of sustenance alongside the sweetness.
Sodium
With approximately 150 mg of sodium per cookie, they strike a balance that keeps your taste buds happy while being mindful of your overall intake.
For more insights into ingredient choices, feel free to explore nutrition data from USDA to make informed decisions tailored to your healthy lifestyle!
FAQs about Hot Chocolate Cookies
Can I make these cookies gluten-free?
Absolutely! To adapt the hot chocolate cookies recipe for a gluten-free diet, simply substitute the all-purpose flour with a gluten-free flour blend. Look for one that includes xanthan gum to maintain the cookies' texture. Just be sure to check labels and use a hot cocoa mix that doesn’t contain gluten.
How can I get my cookies to stay soft?
To keep your hot chocolate cookies soft and chewy, avoid overbaking them. Remove them from the oven when the edges are just starting to brown but the centers still look a bit undercooked. Also, chilling the dough before baking can help enhance moisture retention. Pro tip: store them in an airtight container with a slice of bread for added softness!
What’s the best way to store leftover cookies?
For storing your delicious hot chocolate cookies, make sure they cool completely before placing them in an airtight container. You can keep them at room temperature for up to a week or in the fridge for about 10 days. If you want to extend their shelf life, consider freezing them! Just layer them between parchment paper in a freezer-safe bag, and they'll be ready for a delightful treat later on.
For more tips about baking, check out sources like The Kitchn.
Conclusion on Hot Chocolate Cookies
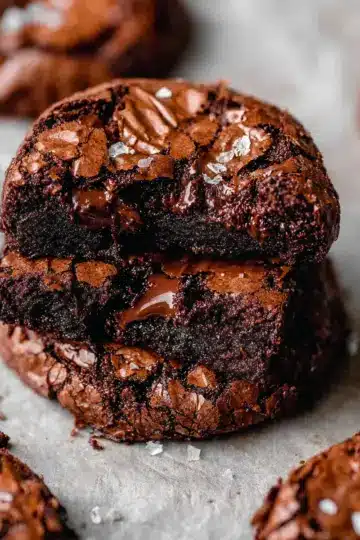
These hot chocolate cookies are a delightful treat that brings warmth and joy to any winter gathering. Their rich flavor, combined with buttery softness and gooey chocolate, creates a comforting bite that’s hard to resist. Perfect for sharing or indulging on your cozy nights at home, enjoy every delicious morsel!
Hot Chocolate Cookies
Equipment
- standing mixer
- baking sheets
- Silicone Baking Mats
- measuring cups
- measuring spoons
Ingredients
- 1 cup butter softened
- 1 cup sugar
- ⅔ cup brown sugar
- 2 large eggs
- 1 teaspoon vanilla
- 3 ¼ cups all purpose flour for a compact and taller cookie
- 4 packages hot cocoa mix or ¾ cup hot cocoa mix - NOT SUGAR FREE VERSIONS
- 1 teaspoon salt
- 1 teaspoon baking soda
- 2 teaspoons baking powder
- 1 cup chocolate chips
- 1 cup Mallow Bits mini marshmallows do not work the same and can be a bit of a sticky mess
Instructions
- Beat butter and sugars in large bowl with standing mixer until light and fluffy. Add eggs and vanilla; mix well.
- In a separate bowl combine dry ingredients. Gradually beat dry ingredients into butter mixture until blended. Stir in chocolate chips and Mallow Bits. Cover and chill for at least 30 minutes and up to 24 hours.
- When ready to bake, preheat oven to 350 degrees. Drop 2 tablespoons dough, 2 inches apart, onto baking sheets lined with silicone baking mats or parchment paper. Bake 9 to 11 minutes or until edges are lightly browned. Cool on baking sheets for 5 minutes; remove to wire racks and cool.
Leave a Reply